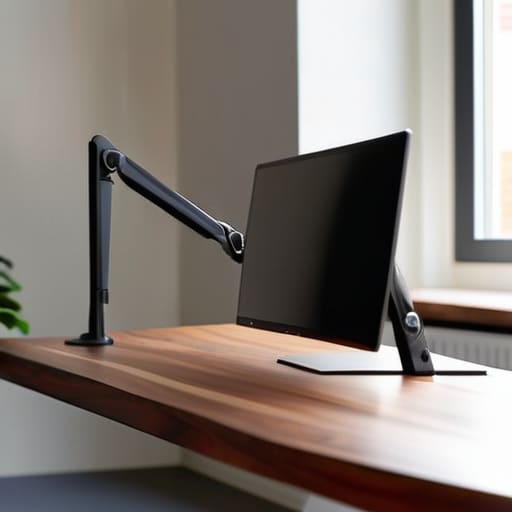
I was sitting in a cramped cafe in Lisbon last month, staring at a massive, clunky monitor stand that was eating up half my workspace and making it impossible to actually use my mechanical keyboard. It hit me then: most people think a heavy desk setup is a permanent tax you have to pay for productivity, but that’s a lie. The real bottleneck isn’t your hardware; it’s the wasted real estate on your desk. Getting a proper monitor arm installation isn’t just about aesthetics or looking like a tech YouTuber—it’s about reclaiming your physical space so your environment actually works for you, not against you.
I’ve spent way too many hours troubleshooting setups in temporary rentals and tiny apartments, so I’m not going to give you a generic manual read-back. In this guide, I’m breaking down the actual process of a seamless monitor arm installation without the fluff. I’ll show you how to secure your gear properly, manage your cables so they don’t look like a bird’s nest, and ensure your setup is completely adaptable to whatever desk you happen to be working on today.
Table of Contents
Guide Overview
Tools & Supplies
- Screwdriver (Phillips or Flathead depending on mount type)
- Allen key (Usually included with the monitor arm kit)
- Measuring tape (To ensure proper desk alignment)
- Monitor arm kit (1 unit)
- Monitor (1 unit)
- Cable ties (1 pack for cable management)
Step-by-Step Instructions
- 1. First, clear your deck. I can’t stress this enough—you can’t build a seamless setup if you’re fighting through a pile of old cables and half-empty coffee mugs. Clear everything off the desk so you have a blank canvas to work with. You’ll need the surface area to maneuver the clamp without knocking your keyboard into the abyss.
- 2. Find your spot and prep the clamp. Most of the arms I use are C-clamps because they don’t require drilling holes, which is a lifesaver when you’re staying in temporary rentals. Position the clamp at the very edge of your desk, but check the underside first to make sure you aren’t hitting a support beam or a cable tray that’ll prevent a flush fit.
- 3. Tighten it down like you mean it. Slide the clamp onto the desk edge and tighten the screw until it’s rock solid. If you’re working on a hollow IKEA-style desk, I’d highly recommend grabbing a small piece of scrap wood to put between the clamp and the desk; it distributes the pressure so you don’t crack the particle board.
- 4. Mount the monitor to the VESA plate. This is the part where you actually have to be careful. Lay your monitor face down on a soft surface—a towel or even a clean hoodie works—and align the holes on the back with the plate. Use the screws provided, but don’t overtighten them; you want them snug, not crushed.
- 5. Connect the monitor to the arm. Lift the monitor assembly and slide it onto the mounting bracket of the arm. Most modern arms use a quick-release mechanism that clicks into place, but some require a few small screws to lock it in. Once it’s on, give it a gentle nudge to make sure it’s actually locked in before you let go.
- 6. Dial in the tension. This is where most people mess up. If your monitor keeps drooping, you need to tighten the tension screw (usually located in the main joint) using the provided hex key. It’s a bit of a trial-and-error process, but you want it to be fluid yet firm so it stays exactly where you position it.
- 7. Cable management time. Now that the hardware is set, don’t let your workspace look like a bird’s nest. Use the integrated clips or some simple velcro ties to run your power and display cables along the arm itself. The goal is to make the tech completely invisible so your focus stays on the code, not the clutter.
Choosing Your Anchor Clamp vs Grommet Mounting
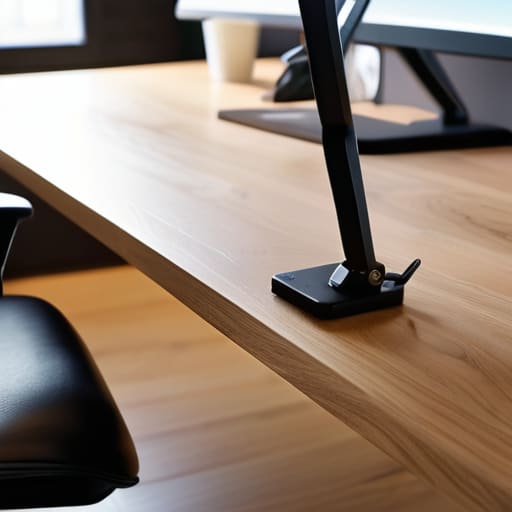
When you’re deciding between clamp vs grommet mounting, the “right” choice really depends on your desk’s architecture and how much you value a clean aesthetic. I usually lean toward the clamp method because it’s incredibly easy to tear down and move when I’m switching up my workspace or heading to a new city. It’s non-destructive, meaning you don’t have to drill holes into a desk you might not own forever. However, if you’re running a heavy single vs dual monitor setup, the weight can sometimes cause a bit of instability.
If you want a more permanent, rock-solid feel, go with the grommet mount. By bolting the arm directly through a pre-drilled hole, you’re essentially eliminating desk wobble entirely. This is my preferred move for heavy-duty builds where I need absolute precision while adjusting monitor height. Just keep in mind that once you commit to a grommet hole, you’re pretty much locked into that spot. Either way, make sure you check your VESA mount compatibility before you start tightening anything; there’s nothing worse than getting halfway through a build only to realize your screen won’t actually clip onto the arm.
Vesa Mount Compatibility and Seamless Integration
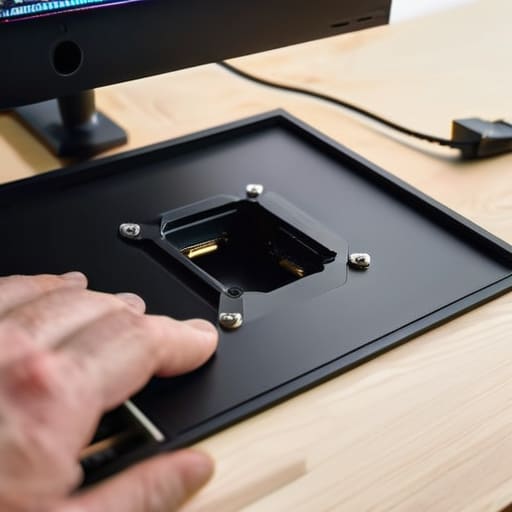
Before you even touch a screwdriver, you need to verify your VESA mount compatibility. I’ve seen too many people buy a sleek, high-end arm only to realize their monitor doesn’t have the standard four-hole pattern on the back. If your screen is missing those holes, don’t panic—you can usually grab a VESA adapter kit to bridge the gap. Just make sure the adapter is rated for your monitor’s weight; nothing kills my focus faster than a screen that slowly sags toward the desk because the hardware couldn’t handle the load.
Once the physical connection is solid, the real magic happens with how the hardware integrates into your workflow. If you’re moving toward a single vs dual monitor setup, pay close attention to the weight distribution. A heavy second screen can put immense strain on the mounting point, which is a recipe for preventing desk wobble from becoming an impossible task. Aim for a setup where the arm feels like an extension of the monitor itself, rather than a bulky piece of metal fighting for space. When everything is aligned perfectly, the tech just disappears, leaving you with nothing but your work.
Pro-Level Tweaks for a Frictionless Setup
- Don’t just tighten the bolts and walk away; once the monitor is mounted, take five minutes to fine-tune the tension screws so the screen doesn’t sag or snap upward when you try to adjust it.
- Manage your cables before you lose your mind; route them through the arm’s internal channels immediately so you aren’t fighting a mess of black wires every time you need to tilt the screen.
- Check your desk’s structural integrity before you commit; if you’re working on a hollow IKEA-style desk, use a small piece of reinforced wood between the clamp and the tabletop to prevent the arm from crushing the particle board.
- Leave yourself some “slack” in your cable runs; if your monitor needs to move frequently, ensure there’s enough loop in the cord so you don’t accidentally rip your ports out when you adjust the height.
- Test your range of motion early; before you settle into your lo-fi flow, move the arm through its full tilt, swivel, and height range to make sure it doesn’t hit a wall or a piece of gear on your desk.
Final Thoughts: Keep Your Setup Fluid
Prioritize mounting styles that match your desk’s reality; if you’re constantly moving between temporary workspaces, a versatile clamp is your best friend for a quick, clean setup.
Don’t overlook VESA compatibility—ensuring your monitor and arm speak the same language is the only way to achieve that seamless, “floating” look without a mess of wires.
Treat your monitor arm as a tool for freedom, not just a piece of hardware; use it to reclaim desk real estate so your workspace adapts to your task, not your clutter.
## The Philosophy of Space
A monitor arm isn’t just about saving desk real estate; it’s about removing the physical friction between you and your workflow. If your gear is constantly in your way, you’re not actually working—you’re just managing clutter.
Elias Vandermeer
Finalizing Your Setup
At the end of the day, installing a monitor arm is about more than just clearing off some desk real estate; it’s about removing the physical friction that keeps you from getting into a flow state. Once you’ve figured out whether a clamp or a grommet mount suits your desk, and you’ve confirmed your VESA compatibility, the hard part is over. It’s all about that final stage of cable management to ensure your setup doesn’t just look clean, but actually functions without a mess of wires dragging your gear down. When everything is tucked away and positioned perfectly, your hardware finally becomes invisible, allowing you to focus entirely on the code or the project in front of you.
I’ve learned through a lot of different setups—from cramped cafe tables to temporary studio spaces—that your environment dictates your output. If your gear is fighting you, your brain is fighting you. By taking the time to do this installation right, you aren’t just organizing a desk; you are engineering a workspace that can actually keep up with a mobile, digital lifestyle. Don’t settle for a static, cluttered environment that keeps you tethered to a specific way of working. Build a setup that is seamless and adaptable, and you’ll find that the work itself becomes a lot more effortless.
Frequently Asked Questions
Will my desk actually hold the weight, or am I going to end up with a cracked tabletop?
Honestly, this is the one question that keeps me up when I’m setting up in a new Airbnb. If you’re rocking a hollow IKEA tabletop or something made of cheap particle board, you’re playing with fire. The concentrated pressure from a clamp can absolutely snap a weak desk. I always check the density first. If it feels flimsy, don’t risk it—grab a small steel reinforcement plate to spread that load. Protect your gear.
How do I stop my monitor from wobbling every time I type on my mechanical keyboard?
That wobble is the absolute worst, especially if you’re using a heavy mechanical keyboard. If your desk is light, it’s likely a resonance issue. First, check your clamp; make sure it’s tightened down hard against a solid surface, not just a thin piece of particle board. If that doesn’t fix it, try adding a weighted base or a desk mat to dampen the vibrations. Ideally, keep your monitor arm’s tension high enough to resist those keystroke shocks.
If I switch to a different monitor later, am I going to have to redo the whole setup?
Not at all. That’s the beauty of a modular setup. As long as your new monitor follows the VESA standard—which almost everything does these days—you just unscrew the old one, pop the new one on, and you’re back in business. You won’t have to mess with the clamp or the desk again. Think of it as future-proofing; you’re investing in the arm, not just the specific screen.