I was sitting in a cramped, overpriced co-working space in Lisbon last month, staring at a massive, permanent desk setup that felt more like a prison than a workspace. The guy next to me had this heavy-duty, industrial-grade rig that looked like it belonged in a NASA control room, but it was completely useless the second he needed to move. It reminded me why I hate the “bigger is better” myth in tech gear. People think they need a massive, expensive workstation to be productive, but the truth is that a bulky, static setup is just dead weight. If you aren’t using a high-quality monitor arm to reclaim your desk real estate and adapt to your environment, you’re basically letting your furniture dictate your workflow.
I’m not here to sell you on some over-engineered, gold-plated piece of hardware that costs more than my flight to Berlin. I want to talk about gear that actually vanishes into your setup so you can focus on the code or the integration work. I’ve tested enough flimsy, cheap mounts to know exactly what fails when you’re working on a tight deadline. I’m going to show you how to pick a monitor arm that offers true portability and precision, ensuring your setup stays as fluid as your lifestyle.
Table of Contents
- Mastering Workspace Organization With Seamless Vesa Mount Compatibility
- The Gas Spring Monitor Arm Effortless Motion for Fluid Thinking
- 5 Ways to Stop Letting Your Monitor Dictate Your Space
- The Bottom Line: Why Your Setup Needs to Move
- The Death of the Static Desk
- Final Thoughts on a Fluid Setup
- Frequently Asked Questions
Mastering Workspace Organization With Seamless Vesa Mount Compatibility
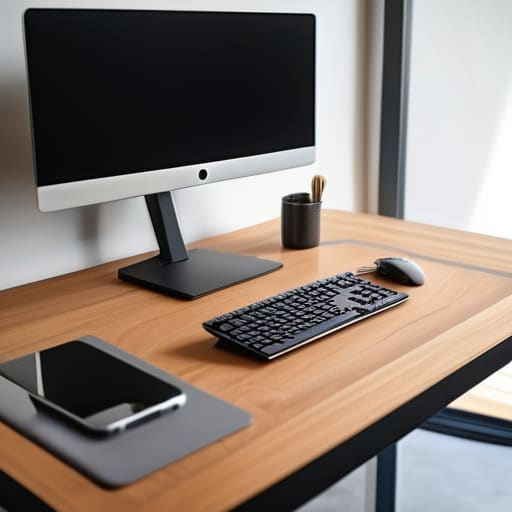
When you’re moving between temporary workspaces, the last thing you want is a cluttered desk fighting for space with your keyboard and notebook. This is where VESA mount compatibility becomes a total game-changer for your workflow. Instead of letting a bulky, static base take up half your desk, a properly integrated mount lets your screen float. It turns your desk from a storage unit into a high-performance zone where everything feels intentional.
If you’re looking to scale up, moving toward a dual monitor setup is the logical next step for multitasking, but it only works if the mounting system is seamless. I always check the specs before buying; you don’t want to get halfway through a build only to realize your screen doesn’t align with the bracket. I’m also big on choosing a gas spring monitor arm—it makes those micro-adjustments effortless. Whether you’re leaning in to debug a script or pushing back to take a breather, the hardware should feel like it’s not even there.
The Gas Spring Monitor Arm Effortless Motion for Fluid Thinking
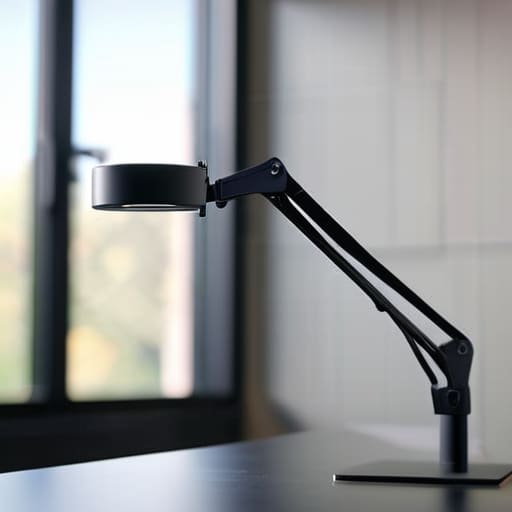
If you’re still working with a static, adjustable height monitor stand that requires you to tighten a knob every time you want to move things, you’re fighting your own gear. I’ve spent too many hours in cramped cafes and temporary rentals realizing that friction is the enemy of flow. That’s where a gas spring monitor arm changes the game. Unlike cheaper mechanical arms that feel clunky and resist movement, the gas spring uses pressurized tension to make your screen feel weightless. You can glide it up, down, or tilt it toward you with a single finger, which is essential when you’re switching between deep coding sessions and a quick video call.
This kind of fluidity isn’t just about convenience; it’s about long-term physical sustainability. When your setup allows for instant micro-adjustments, you’re actively engaging in neck strain prevention without even thinking about it. Whether you’re transitioning into a dual monitor setup for extra screen real estate or just need to pull the display closer to check a line of code, the motion should be invisible. If you have to struggle with your hardware, you aren’t actually focused on the work.
5 Ways to Stop Letting Your Monitor Dictate Your Space
- Check your weight limits before you buy. There’s nothing worse than unboxing a sleek arm only to have it slowly sag toward your desk because your ultrawide is too heavy for the tension spring.
- Prioritize cable management channels. If you’re still dealing with a “cable nest” hanging behind your screen, you aren’t working; you’re just managing clutter. Look for arms with built-in clips or hollow channels to keep things invisible.
- Don’t forget the desk thickness. I’ve been burned by mounting an arm to a thin IKEA tabletop that ended up bowing under the pressure. Make sure your clamp has enough clearance or grab a reinforcement plate.
- Test your rotation range. If you ever plan on syncing your setup with a secondary laptop or a tablet, make sure the arm allows for a full 90-degree pivot so you can switch to a vertical orientation without a fight.
- Think about your eye level, not just your neck. A good arm should let you drop the monitor low enough to prevent that “tech neck” slouch, but high enough that you aren’t constantly looking down at your keyboard.
The Bottom Line: Why Your Setup Needs to Move
Stop letting a static desk dictate your posture; a good monitor arm turns a rigid workspace into a dynamic one that actually adapts to how you work.
Prioritize VESA compatibility and gas spring mechanics to ensure your hardware is an invisible part of your workflow rather than a clunky obstacle.
Invest in tools that prioritize portability and fluid motion, because if your setup can’t shift with your focus, it’s just holding you back.
The Death of the Static Desk
If your monitor is stuck in one position, you’re essentially building a cage for your focus. A good arm isn’t just about saving desk space; it’s about making sure your hardware disappears so your workflow can actually breathe.
Elias Vandermeer
Final Thoughts on a Fluid Setup
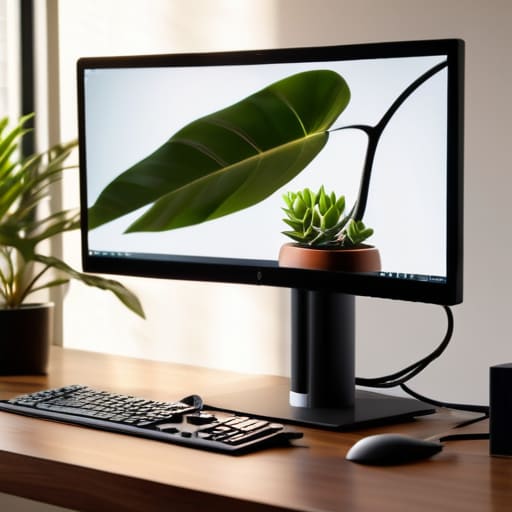
At the end of the day, upgrading to a monitor arm isn’t just about clearing some desk real estate or making your setup look “aesthetic” for a photo. It’s about removing the physical friction that slows you down. Whether you’re leaning into the precision of VESA compatibility to ensure your hardware actually fits, or you’re utilizing a gas spring arm to shift your viewing angle mid-sprint, you’re making a choice to prioritize your workflow. A good arm makes the hardware disappear, allowing you to stop fighting your equipment and start focusing on the code or the configuration in front of you.
I’ve learned through a lot of different temporary workspaces that your environment dictates your output. If you’re stuck with a static, heavy, and unmovable screen, you’re essentially tethered to a single way of thinking. Don’t let a rigid setup become a bottleneck for your productivity. Invest in tools that offer mobility and adaptability, because the goal isn’t just to have a nice desk—it’s to build a system that moves as fast as you do. Keep your setup lean, keep it cloud-ready, and most importantly, keep it flexible.
Frequently Asked Questions
How do I figure out if my current monitor is actually compatible with a VESA mount before I buy anything?
Flip your monitor over. If you see four screw holes arranged in a perfect square, you’re usually in the clear. Check the distance between those holes in millimeters—that’s your VESA pattern (like 75×75 or 100×100). If the back is a smooth, solid sheet of plastic with no holes, you’re looking at a non-standard mount. In that case, don’t sweat it; you can just grab a VESA adapter kit to bridge the gap.
Is a gas spring arm actually worth the extra cash if I'm not constantly moving my screen around?
Honestly? If your monitor stays glued to one spot and you never touch it, you can probably skip the gas spring. Save your cash for a better mechanical keyboard or a solid portable SSD. But here’s the catch: even if you don’t “move” it, you’ll eventually want to tilt it to kill a glare or pull it closer for a deep-focus session. Gas springs make those tiny adjustments effortless instead of a wrestling match.
How do I manage all the cable clutter that inevitably pops up once the monitor is off the desk?
Honestly, if your cables look like a bird’s nest, you’ve already lost the battle for focus. I use integrated cable management channels built directly into the arm whenever possible. For everything else, I lean on heavy-duty Velcro ties and some slim cable sleeves to bundle the power and display cords together. The goal is to route everything straight down the arm’s spine so they disappear. If you can see the wires, they’re a distraction.