I was sitting in a tiny, concrete-walled Airbnb in Berlin last month, trying to debug a client’s cloud architecture, when it hit me. Every single keystroke on my mechanical keyboard sounded like a gunshot, echoing off the bare walls and completely shattering my focus. I realized then that you can have the fastest fiber connection and the cleanest cable management in the world, but if your room has the acoustic properties of a cave, you’re never going to hit a flow state. Most people think you need to spend a fortune on professional studio foam to fix this, but honestly, that’s just marketing fluff. You don’t need a soundstage; you just need the right acoustic panels to kill that annoying flutter echo.
I’m not here to sell you on some overpriced, aesthetic-only decor that does nothing for your actual workflow. My goal is to show you how to integrate functional sound treatment into a setup that stays minimalist and portable. I’ll walk you through the practical stuff—what actually absorbs frequency versus what just looks cool on Instagram—so you can build a workspace that actually works for you, not against you.
Table of Contents
Beyond Foam Acoustic Tiles Achieving Seamless Sound

If you’ve spent any time looking at budget setups, you’ve probably seen those cheap, egg-carton-style foam acoustic tiles. They’re fine for a quick fix, but if you’re trying to build a professional-grade environment, they usually fall short. Most people confuse sound absorption vs soundproofing; they think covering a wall in foam will stop the neighbors from hearing their calls, but it won’t. Foam is great for reducing echo in a room, but it doesn’t have the mass to stop sound from traveling through walls.
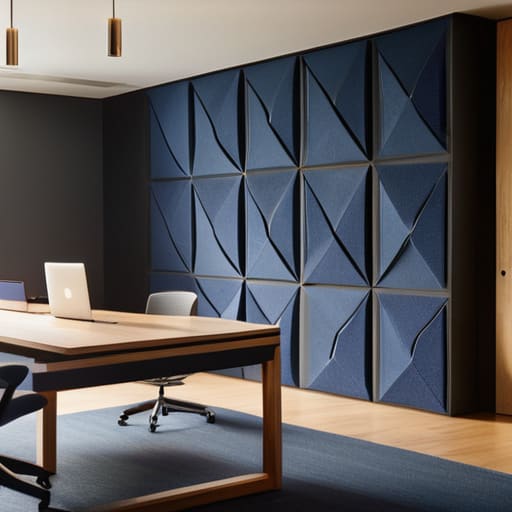
To actually level up, I look for denser materials like rockwool or high-density fiberglass. These are much more effective at catching those low-mid frequencies that make a room sound “muddy.” When I’m scouting gear, I always check the NRC rating explained in the specs—the higher the number, the more sound energy it’s actually killing. I prefer using sleek, wall mounted sound absorbers that look like minimalist art rather than a science experiment. It keeps my setup looking clean and intentional, rather than like a cluttered basement studio.
Nrc Rating Explained the Science of Focus

When you start looking at different options for your setup, you’re going to see a number called the NRC rating everywhere. It stands for Noise Reduction Coefficient, and honestly, if you want to stop wasting money on gear that doesn’t work, you need to understand it. Think of it as a scale from 0 to 1. A rating of 0 means the material is basically a mirror for sound, reflecting everything right back at you, while a 1 means it’s absorbing almost all the energy that hits it.
If you’re trying to move past cheap foam acoustic tiles that just look like egg cartons, you need to look for a higher NRC. For a workspace where I’m trying to stay in a flow state, I look for something in the 0.75 to 0.90 range. This is where you see the real difference in reducing echo in a room. It’s not just about making the space look like a studio; it’s about killing the sonic clutter so your brain doesn’t have to work overtime just to filter out the bounce.
Five Ways to Kill the Echo Without Ruining Your Aesthetic
- Stop treating your walls like an afterthought. If you’re just slapping cheap, ugly foam squares everywhere, you’re doing it wrong. Look for fabric-wrapped panels that actually look like part of the decor—it keeps the vibe clean and professional rather than looking like a budget recording studio.
- Focus on the “first reflection points.” You don’t need to cover every square inch of your room to see a difference. Figure out where the sound bounces off your walls when you’re on a call, and place your panels right there. It’s about working smarter, not harder.
- Don’t forget the floor. If you’re working in a space with hardwood or tile, even the best wall panels won’t save you from that hollow, ringing sound. Throw down a decent rug to soak up the extra noise and give your setup a more grounded, intentional feel.
- Mind the gap. When you’re mounting panels, don’t feel like they have to be perfectly flush or edge-to-edge. Leaving a little bit of air between the panel and the wall can actually help trap more sound waves, which is a massive win for your setup’s efficiency.
- Think about your gear’s footprint. Since I’m always moving, I look for lightweight, modular options. If you’re building a permanent setup, go heavy-duty, but if you’re a nomad, look for slim profiles that won’t make your workspace feel cramped or cluttered.
The Bottom Line: Soundproofing for Flow
Stop settling for cheap foam; if you want actual acoustic control that doesn’t look like a dorm room, invest in high-density panels that actually handle the NRC requirements of your space.
Treat sound management as a productivity tool, not a decor choice—the goal is to kill the echo so your brain can stop processing background noise and start focusing on the task at hand.
Keep your setup intentional; choose materials that integrate into your workspace seamlessly so your environment supports your workflow instead of cluttering it up.
## Sound as Infrastructure
“Most people treat acoustic panels like a decor afterthought, but if you’re trying to hit deep work, they’re actually essential infrastructure. You can have the fastest cloud connection and the cleanest mechanical keyboard in the world, but if your room is bouncing sound around like a pinball machine, your focus is dead on arrival.”
Elias Vandermeer
Final Thoughts on Your Sonic Environment
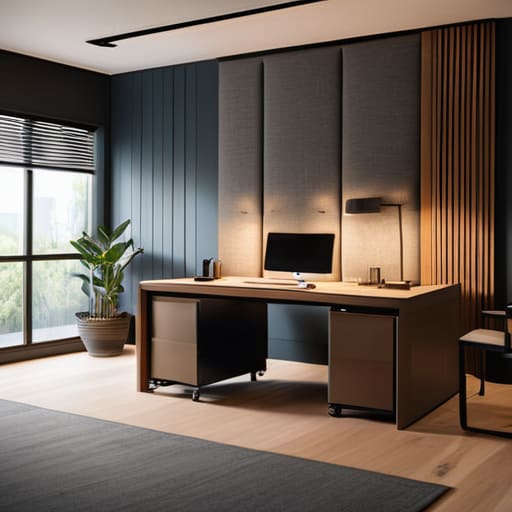
At the end of the day, choosing acoustic panels isn’t just about making a room look better for a webcam; it’s about engineering your environment for deep work. We’ve looked at why those cheap foam tiles usually fall short and why understanding the NRC rating is the only way to ensure you’re actually absorbing sound rather than just decorating. Whether you’re going with high-density fabric panels or something more integrated into your setup, the goal is the same: eliminate the distractions that pull you out of your flow state. A well-tuned space ensures that your tools remain invisible, leaving you with nothing but the task at hand.
I’ve learned through countless setups in different cities that your physical surroundings dictate your mental clarity. You can have the fastest cloud connection and the most optimized tech stack in the world, but if your room sounds like a cavernous echo chamber, you’re fighting a losing battle. Invest in your acoustics as seriously as you invest in your hardware. When you finally master your soundscape, you stop fighting your workspace and start actually using it to build something meaningful. Your focus is your most valuable asset—don’t let a bad room steal it from you.
Frequently Asked Questions
How do I figure out exactly where to mount these panels without turning my workspace into a total mess?
Don’t just start drilling holes and hoping for the best. Start with the “clap test”—stand where you usually work, clap loudly, and listen for that sharp, metallic ring. That’s your target. I usually use command strips or temporary mounting putty first to test the layout. Focus on the “first reflection points” at ear level. Once you find the spots that kill the echo without cluttering the walls, then you commit to the permanent mount.
Are there any lightweight, portable options that won't kill my ability to pack up and move to a new city?
If you’re moving as much as I am, heavy wood-slat panels are a non-starter. You need stuff that fits in a carry-on. I usually lean on high-density felt absorbers or even lightweight PET felt panels. They’re basically lightweight, recycled plastic sheets that you can tack up or lean against a wall. They pack flat, weigh next to nothing, and actually do the job without turning your setup into a permanent installation.
Can I actually integrate these into a clean, minimalist desk setup, or are they always going to look like a recording studio?
Honestly, that’s my biggest fear with any gear—turning a clean setup into a cluttered mess. You definitely don’t need that “foam pyramid” look from a basement studio. I usually go for felt-based panels or slim fabric wraps in neutral tones like charcoal or sand. They blend into the wall almost like texture rather than equipment. If you stick to geometric shapes and matte finishes, they just look like intentional design, not a recording booth.