I was sitting in a dim cafe in Porto last month, trying to push through a late-night systems integration task, when the glare from my screen started making my eyes feel like they were full of sand. I reached for my desk lamp, but the bulky base was eating up all my workspace, and the light was hitting the screen in a way that made everything completely unreadable. It’s one of those classic tech frustrations where you realize your “pro” setup is actually just a collection of friction points. I realized then that most people treat a monitor light bar like some luxury aesthetic accessory for a YouTube desk tour, when in reality, it’s a fundamental tool for anyone who actually needs to stay focused without the eye strain.
I’m not here to sell you on some overpriced RGB gadget that looks cool in a thumbnail but fails the moment you actually try to work. I’ve tested enough of these to know which ones actually disappear into your setup and which ones are just clutter. I’m going to break down what actually matters—color accuracy, flicker, and how much space they actually save—so you can find a solution that is seamless and functional. No hype, just the practical truth about making your workspace work for you.
Table of Contents
Mastering Asymmetric Optical Design for Seamless Focus
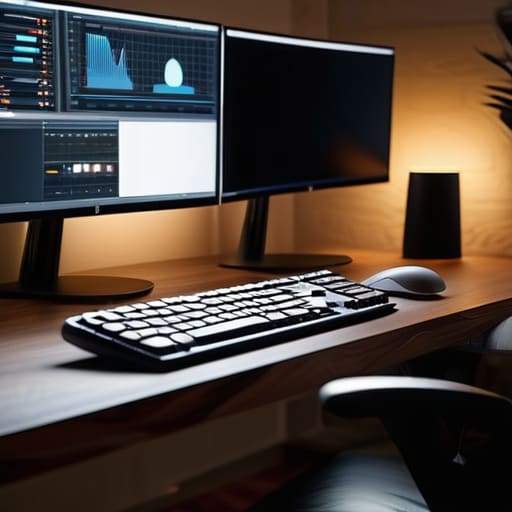
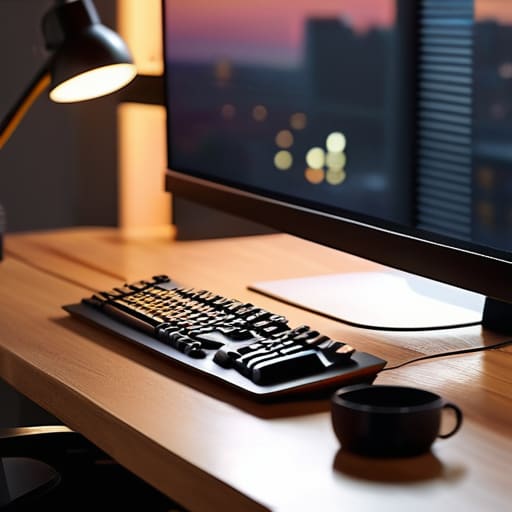
The biggest mistake I see in most desk setups is people relying on standard desk lamps or overhead lights that just blast everything in sight. If you’re working late in a dim room, that direct glare hitting your screen is a recipe for a headache. This is where asymmetric optical design actually matters. Instead of a light that scatters everywhere, a decent bar directs the beam specifically toward your workspace and keyboard, leaving the screen itself untouched. It prevents that annoying reflection that breaks your flow every time you glance at a line of code.
When the light is directed correctly, it does more than just look clean; it helps reduce eye strain by creating a more balanced contrast between your monitor and the surrounding environment. I’ve found that when the light path is precise, my eyes don’t have to work nearly as hard to adjust to the screen’s brightness. It’s all about minimizing that visual friction. If the light is hitting your eyes or bouncing off the glass, it’s not a tool—it’s a distraction. You want a setup where the illumination feels natural and intentional, not like you’re sitting under a spotlight.
Using Flicker Free Led Lighting to Reduce Eye Strain
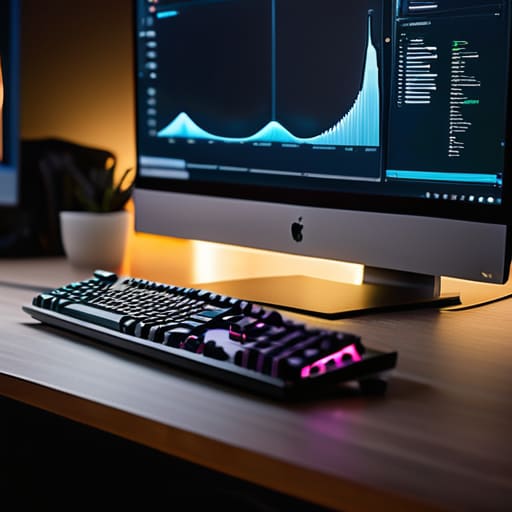
If you’ve ever spent six hours straight debugging code or configuring a cloud instance, you know that specific, dull ache behind your eyes. Most people blame the screen brightness, but it’s often the subtle, invisible oscillation of cheap lighting. This is why I prioritize flicker-free LED lighting in any setup I build. When the light source is constantly pulsing—even at a frequency your eyes can’t consciously detect—your brain is working overtime to process the instability. It’s a massive, hidden drain on your mental energy that makes “flow state” almost impossible to reach.
Beyond just the flicker, it’s about how the light interacts with your immediate environment. A quality light bar helps manage the contrast between your bright display and the dark room, acting as a crucial piece of computer desk setup ergonomics. Instead of your eyes constantly adjusting to harsh glare or deep shadows, the light provides a steady, consistent layer of illumination. When the light is stable and smooth, you stop noticing the hardware entirely, and that’s exactly when you can actually get the work done.
Small Tweaks for a Zero-Friction Setup
- Prioritize auto-dimming sensors. I’ve learned the hard way that manually adjusting brightness every time the sun shifts or my room lighting changes is just unnecessary mental friction. You want a light bar that senses the ambient light and adjusts itself so you never have to touch it.
- Check the mounting mechanism before you buy. Since I’m constantly moving between different desks and cafe setups, I need something that clips on securely without scratching the monitor or taking ten minutes to install. If it’s not easy to move, it’s not part of a mobile workflow.
- Look for high CRI (Color Rendering Index) ratings. If you’re doing any kind of design work or even just want your desk to look less like a sterile hospital ward, you need light that renders colors accurately. Low-quality LEDs make everything look washed out and gray.
- Avoid anything that causes screen glare. The whole point of a light bar is to light your workspace, not your monitor. If the light spills onto the screen and creates a distracting reflection, it’s failing its one job. Stick to designs that focus the beam strictly on the desk surface.
- Go wireless if you can. I hate extra cables cluttering up my workspace. A light bar that runs on a rechargeable battery or uses a minimal USB connection keeps my desk clean and my cable management from becoming a nightmare.
Cutting the Visual Noise
Prioritize asymmetric lighting to keep the glow off your screen; if you see reflections, the light bar is just adding more friction to your workflow.
Look for flicker-free tech to save your eyes during those long, deep-work sessions where you’ve lost track of time.
Treat your lighting as a tool for focus, not just an aesthetic choice—it should disappear into your setup so the work stays front and center.
The End of Desktop Clutter
“A monitor light bar isn’t just about extra brightness; it’s about reclaiming your desk. It clears the visual noise and keeps the light exactly where it needs to be, letting the tools disappear so you can actually get into a flow state.”
Elias Vandermeer
Final Thoughts on Visual Friction
At the end of the day, a monitor light bar isn’t just another piece of desk candy to show off on a setup tour. It’s a functional tool designed to solve a very specific problem: visual noise. By prioritizing an asymmetric design that keeps light off your screen and choosing flicker-free LEDs, you’re essentially optimizing your environment for deep work. Whether you’re sitting in a temporary co-working space in Lisbon or your permanent home office, the goal remains the same—eliminating the small, annoying distractions like glare and eye fatigue so you can stay in the flow. When your lighting is dialed in, the hardware basically becomes invisible, leaving you with nothing to do but focus on the code or the project in front of you.
I’ve learned through a lot of trial and error that your gear should serve your lifestyle, not dictate it. If a piece of tech makes your workspace feel cluttered or makes your eyes ache after two hours of troubleshooting, it’s not working for you; it’s working against you. Investing in a quality light bar is about more than just illumination; it’s about protecting your cognitive bandwidth. Build a setup that is seamless, portable, and intentional. Once you stop fighting your environment, you’ll realize that true productivity comes from having the freedom to work anywhere without losing your edge.
Frequently Asked Questions
Will a light bar actually interfere with my monitor's color accuracy or cause glare on the screen?
Not if you pick a decent one. The whole point of asymmetric design is that the light hits your desk, not your screen. If you’re using a cheap, generic bar, you might see some weird reflections or a slight wash-out, but a high-quality light bar stays strictly in the workspace zone. It shouldn’t touch your panel at all, meaning your color calibration stays intact and your eyes don’t have to fight glare to get work done.
How do I choose between a clip-on model and a weighted base if I'm constantly moving my setup?
If you’re moving as much as I am, go with the clip-on model. Every gram matters when you’re packing a tech bag, and a weighted base is just dead weight that’s a pain to lug between Airbnbs. A solid clip-on keeps your desk footprint tiny and adapts to whatever monitor you find yourself using. Just make sure the clamp is sturdy; you don’t want your lighting setup wobbling every time you type.
Is it worth paying extra for wireless dimming controls, or are the physical buttons on the bar enough?
Honestly, if you’re a minimalist, wireless is the way to go. I’ve found that fumbling with tiny buttons on the bar itself breaks my flow every single time. Having a dedicated wireless dial on my desk lets me adjust brightness or color temperature without even looking up from my code. If you value a clean, cable-managed setup and want to stay in the zone, the extra cost for wireless is a total game-changer.