I was sitting in a cramped cafe in Lisbon last month, trying to push through a cloud deployment fix, when the dull ache in my wrists finally forced me to stop. I looked down at this massive, plastic “ergonomic” monstrosity I’d lugged across three borders, and I realized most of the advice out there is total garbage. Most people treat an ergonomic keyboard guide like a shopping list for expensive, bulky gear that looks like a medical device and performs like a brick. If your setup is so heavy and specialized that you can’t actually use it while traveling, it isn’t ergonomic—it’s just an anchor.
I’m not here to sell you on some $400 split-ortholinear board that requires a PhD to type on. Instead, I want to help you find tools that actually disappear into your workflow. This guide is about finding that sweet spot between physical comfort and the portability a digital nomad actually needs. I’m going to cut through the marketing fluff and give you a practical, no-nonsense framework for choosing a keyboard that supports your hands without sabotaging your mobility.
Table of Contents
Achieving Neutral Wrist Position Without the Friction
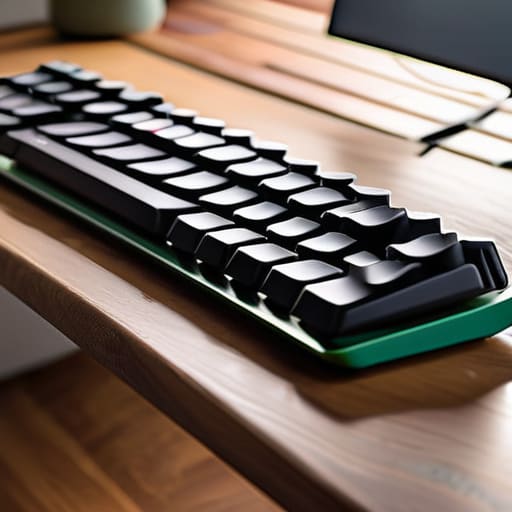
The biggest mistake I see people making is treating their keyboard like a static object rather than an extension of their body. Most people default to this awkward, arched posture where their wrists are constantly fighting gravity. If you’re typing with your hands tilted upward, you aren’t just working harder; you’re actively inviting carpal tunnel prevention issues into your life. To get into a true neutral wrist position, your hands should feel like they are floating just above the keys, with your forearms and hands forming a straight, unbroken line.
I’ve learned the hard way that even the best mechanical keyboard ergonomics won’t save you if your desk height is off. I usually carry a couple of adjustable keyboard stands in my tech bag because I never know if I’m going to be working on a cafe table that’s two inches too high or a hotel desk that’s too low. You need to eliminate that micro-tension. When your wrists are straight and your shoulders are relaxed, the tools finally become invisible, and you can actually get back into your flow without that nagging ache creeping in by mid-afternoon.
Mechanical Keyboard Ergonomics for Seamless Flow
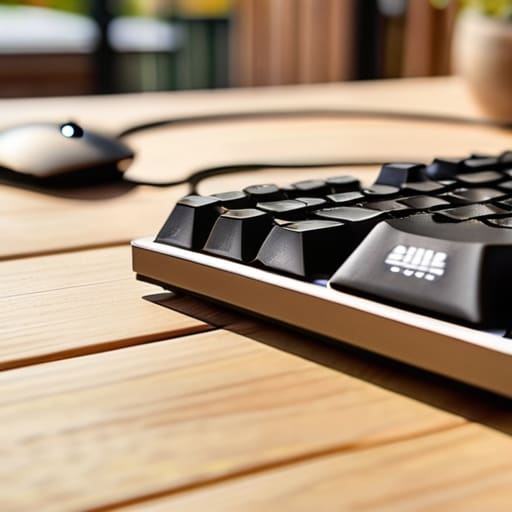
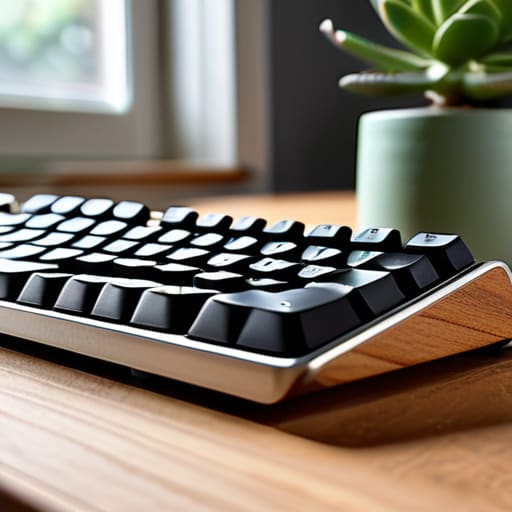
When you’re deep in a flow state, the last thing you want is your hardware fighting your anatomy. This is where mechanical keyboard ergonomics actually become a game-changer rather than just a niche hobby. Because I build my own boards, I’ve learned that it’s not just about the switches; it’s about the physical footprint. If you’re working from a cramped café table or a tiny Airbnb desk, a full-sized board is a liability. It forces your mouse hand too far to the right, creating a constant, subtle tension in your shoulder. I almost always opt for a TKL (tenkeyless) setup because it keeps my arms closer to my midline, which is vital for long-term repetition strain injury relief.
It’s also about the tactile feedback. A well-tuned mechanical board allows you to type with a lighter touch, meaning you aren’t slamming your fingers into the plate with every keystroke. When you combine a high-quality, low-profile mechanical board with some adjustable keyboard stands, you’re essentially customizing your environment to fit your body. You want a setup that feels like an extension of your hands, not a piece of equipment you have to adapt to.
5 Ways to Stop Your Setup From Fighting Your Body
- Ditch the membrane boards for something tactile. If you’re spending eight hours a day typing, you need switches that give you instant, consistent feedback so you aren’t smashing your fingers into the board just to register a keystroke.
- Stop ignoring your wrist angle. A wrist rest isn’t just a cushion; it’s a tool to keep your hands from angling upward. If your wrists are cocked back, you’re basically asking for carpal tunnel by the end of the week.
- Go split or go home. If you have the desk space, a split keyboard allows you to keep your shoulders open and your chest from collapsing inward. It’s a game changer for long-term posture, especially when you’re working from a cramped cafe table.
- Mind the keycap profile. Not all keys are shaped the same. A profile that matches your finger’s natural arc reduces the amount of micro-adjustments your hands have to make, letting you stay in that deep work flow longer.
- Prioritize portability without sacrificing ergonomics. Since I’m rarely in the same zip code for long, I look for compact layouts like 65% or 75%. You get the essential keys you actually use without a massive footprint that makes your mobile setup feel clunky.
The Minimalist's Checklist for a Frictionless Setup
Stop treating your keyboard like a peripheral; it’s the primary interface for your brain, so prioritize a layout and switch type that doesn’t force you to fight against your own hands.
Portability is non-negotiable—if your ergonomic solution only works when you’re bolted to a specific desk, it’s not actually helping your workflow, it’s just creating a new dependency.
Aim for “invisible” ergonomics where the gear supports your posture naturally, allowing you to stay in a deep work state without the constant distraction of physical discomfort.
The Invisible Tool
A keyboard shouldn’t be a piece of hardware you’re constantly negotiating with; it should be so well-tuned to your hands that it basically disappears, leaving nothing between you and your code.
Elias Vandermeer
Finding Your Flow
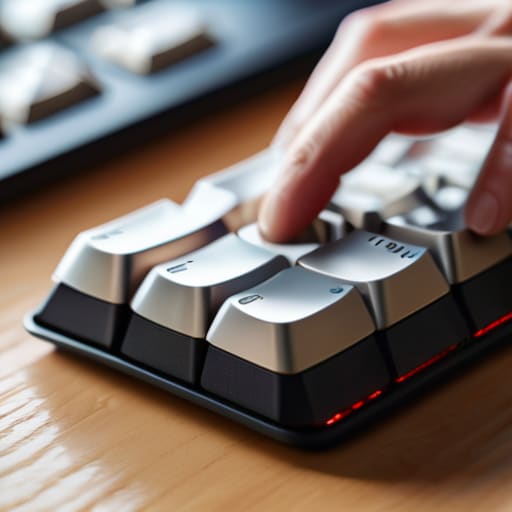
At the end of the day, building an ergonomic setup isn’t about following a rigid checklist or buying the most expensive gear on the market. It’s about understanding how your body interacts with your tools. We’ve talked about finding that neutral wrist position to stop the constant ache, and why choosing the right mechanical switches can make the difference between a frustrating session and a deep work state. Whether you’re tweaking your tenting angle or obsessing over keycap profiles, the goal remains the same: minimizing the physical friction between your thoughts and the digital output. If you have to constantly adjust your posture or fight against a stiff layout, your gear isn’t working for you—it’s working against you.
Don’t get caught in the trap of “perfect setup paralysis.” You don’t need a $500 custom build to start feeling better. Start with what you have, make small, iterative changes, and listen to what your hands are telling you. Your workspace should be a seamless extension of your intent, moving and adapting as your life shifts from a quiet cafe to a temporary home office. Invest in tools that disappear into your workflow, and you’ll find that the best setup isn’t the one that looks the coolest on Instagram, but the one that lets you stay in the zone longer than ever before.
Frequently Asked Questions
If I’m constantly moving between cafes and Airbnbs, is a split ergonomic keyboard actually portable enough to be worth the bulk?
Honestly, if you’re hopping between cafes, a heavy split setup might feel like a burden at first. But here’s the reality: the “bulk” is usually just the case. If you go with a low-profile split or a modular design that nests together, the trade-off is worth it. I’ve found that fighting wrist strain in an Airbnb is way more draining than carrying an extra pound in my tech pouch. If it protects your flow, it’s worth the space.
How do I balance the tactile satisfaction of a custom mechanical build with the actual ergonomic requirements for my wrists?
That’s the million-dollar question in the custom community. You don’t have to sacrifice one for the other, but you do have to be intentional. I usually lean toward split layouts or tenting modules. It lets me keep those heavy, tactile switches I love without forcing my wrists into that awkward, pronated position. If you’re building, prioritize a layout that lets your hands stay natural; the “feel” comes from the switches, but the comfort comes from the geometry.
Are there specific software or cloud-based tools that can help me map my macro keys so my workflow stays consistent on different hardware?
Since I’m constantly jumping between different setups, I can’t rely on hardware-specific drivers. I use QMK or VIA for my mechanical boards because the configurations are stored on the hardware itself—no software needed on the host machine. For everything else, I lean on AutoHotkey or Karabiner-Elements. If you want true cloud-level consistency, keep your macros standardized across your scripts so your muscle memory stays intact, regardless of which laptop you’re tethered to.