I was sitting in a cramped cafe in Lisbon last month, trying to explain a cloud migration architecture to a client, when my video feed turned into a pixelated, muddy mess. It wasn’t even a bad connection; it was just a subpar sensor struggling to handle the natural light from the window. Most people will tell you that you need a thousand-dollar DSLR setup and a studio lighting kit to look professional, but that’s just noise. In reality, obsessing over hyper-expensive gear is a distraction from what actually matters: having a setup that stays reliable whether you’re at a dedicated desk or a temporary workstation. True webcam quality isn’t about the most expensive glass; it’s about how seamlessly the tech integrates into your actual life without requiring a degree in cinematography to operate.
I’m not here to sell you on the latest marketing hype or a list of overpriced gadgets that will just collect dust in your tech bag. Instead, I want to show you how to find that sweet spot where clarity meets portability. I’ll be breaking down what actually moves the needle for remote professionals and how to optimize your environment so your tools stay invisible. My goal is to help you achieve a professional presence that works anywhere, without the unnecessary clutter.
Table of Contents
Mastering Low Light Webcam Performance Without the Friction
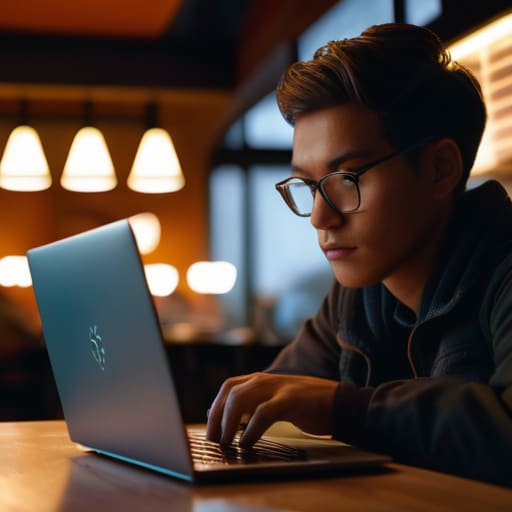
Most of the time, I’m working out of cafes or Airbnbs where the lighting is either nonexistent or aggressively uneven. When you’re stuck in a dim room, you quickly realize that low light webcam performance isn’t just about having a fancy lens; it’s about how your hardware handles grain. If your camera has a tiny sensor, it’s going to struggle, turning your video into a muddy, pixelated mess the second the sun goes down. Instead of fighting it, I usually try to position myself so the light hits my face from the side rather than from behind, which prevents that washed-out look.
Another thing that trips people up is the constant hunting for focus. If you’re in a low-light environment, many cameras struggle with autofocus vs fixed focus logic, causing that annoying jitter where the image constantly blurs and sharpens. I’ve learned to favor setups that allow me to lock my focus manually or use a slightly wider field of view to mask minor movements. It’s all about reducing the digital noise so the hardware stays out of the way, letting you actually focus on the conversation instead of your grainy silhouette.
Why Sensor Size Matters for a Seamless Visual Experience
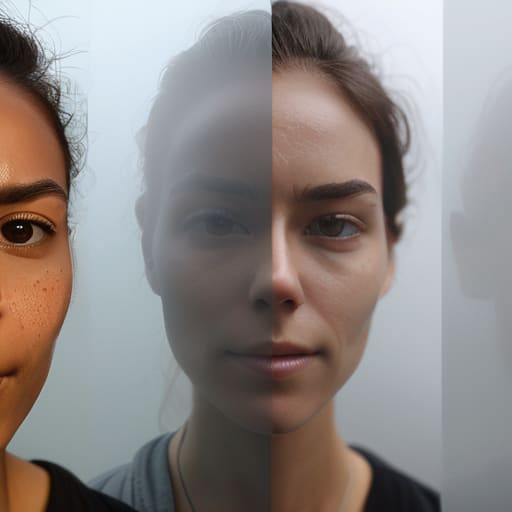
When you’re staring at a spec sheet, it’s easy to get distracted by megapixels, but that’s mostly marketing fluff. If you want a setup that actually feels professional without constant tweaking, you need to look at the webcam sensor size. A larger sensor captures more light and more detail, which is the real secret to avoiding that grainy, “cheap” look. When the sensor is too small, the camera tries to compensate by cranking up the digital gain, which leads to terrible noise reduction in video and a washed-out image that makes you look like you’re filming through a fog.
I’ve learned the hard way that a tiny sensor is a massive liability when you aren’t in a studio with perfect lighting. If you’re working from a cafe or a rental with questionable overhead lights, a larger sensor handles those shadows gracefully. It ensures your frame rate for video calls stays stable and fluid, rather than stuttering every time you move your hands. Ultimately, a decent sensor means you can stop fiddling with your settings and just focus on the meeting.
Five Ways to Stop Looking Like a Pixelated Ghost
- Stop relying on your overhead room light. If you’re working from a cafe or a temporary rental, grab a small, portable LED panel. It’s much better to have a dedicated light source than to fight with a single, harsh bulb coming from behind you.
- Check your software settings before every call. Most webcams default to “auto-everything,” which usually results in weird color shifts or constant refocusing. Lock your exposure and white balance so the image stays consistent throughout your meeting.
- Position your lens at eye level. It sounds basic, but propping your laptop up on a stack of books or a portable stand makes a massive difference. Looking down into a camera creates a “neck-beard” angle that makes even the best sensor look amateur.
- Manage your bandwidth, not just your video. If you’re on mediocre Wi-Fi, a high-res stream will just stutter and look like a slideshow. If the connection is struggling, drop your output resolution to 720p. A sharp 720p image is always better than a frozen 4K one.
- Keep the lens clean. I can’t tell you how many times I’ve sat through a technical troubleshooting session only to realize there was just a fingerprint smudge on the glass. A quick wipe with a microfiber cloth goes a long way.
The Bottom Line for Your Setup
Stop chasing megapixels and start looking at sensor size; a bigger sensor handles poor lighting naturally so you aren’t constantly fighting with software tweaks.
Your gear should be invisible—if you have to spend ten minutes adjusting settings every time you move to a new cafe or Airbnb, the tech is failing you.
Prioritize hardware that works in real-world conditions, like dim hotel rooms or uneven natural light, rather than what looks good in a controlled studio.
The Invisible Tool
“At the end of the day, I don’t care about megapixels or spec sheets; I care about whether my video looks like a grainy mess when I’m working from a cafe in Lisbon or a dim Airbnb in Berlin. Good webcam quality isn’t about looking like a movie star—it’s about the tech disappearing so your clients actually see you, not your struggle with the lighting.”
Elias Vandermeer
Final Thoughts on the Visual Workflow
At the end of the day, getting your webcam quality right isn’t about chasing the highest specs just for the sake of a numbers game. It’s about understanding how sensor size and light management play into your actual environment, whether you’re in a bright cafe or a dimly lit Airbnb. If you’ve mastered the balance between hardware capability and environmental control, you’ve removed a massive layer of technical friction. You shouldn’t be spending your energy troubleshooting why you look like a grainy shadow during a client call; you should be focused on the integration and the work itself. When your gear is reliable, it effectively becomes invisible.
My philosophy has always been that your tech should serve your freedom, not dictate it. A high-quality setup isn’t a luxury reserved for people sitting in glass-walled offices in San Francisco; it’s a tool that allows you to show up as a professional from anywhere in the world. Don’t let mediocre hardware be the thing that anchors you to a desk or makes you feel less than capable when you’re on the move. Build a setup that is seamless, portable, and resilient. Once you stop worrying about how you look on screen, you’re finally free to actually do the work you moved away from the cubicle to do in the first place.
Frequently Asked Questions
Is it actually worth carrying around a dedicated mirrorless camera and capture card, or can I just optimize my current setup?
Honestly? For most of what I do, carrying a mirrorless rig and a capture card is just extra weight and unnecessary friction. Unless you’re doing high-end client presentations where every pixel counts, it’s overkill. I’d rather spend that energy optimizing my current lighting and finding a webcam with a decent sensor. If your setup isn’t portable or easy to deploy on mediocre Wi-Fi, it’s just a bottleneck. Keep it lean; keep it seamless.
How do I stop my webcam from looking like a grainy mess when I'm working from a cafe with bad lighting?
First, stop fighting the overhead lights. If you’re in a cafe, try to position yourself so you’re facing a window rather than having the light behind you. If that’s not an option, grab a small, portable LED panel that clips to your laptop. It sounds like extra gear, but a tiny bit of controlled light beats a grainy, noisy sensor every single time. It keeps the workflow seamless without needing a studio setup.
Are there any lightweight software tools that can clean up my video feed without killing my laptop's CPU?
Honestly, you don’t want some bloated suite running in the background eating your CPU cycles. If you’re on a laptop, every bit of overhead matters. I usually stick to the built-in filters in apps like Zoom or Teams—they’re surprisingly optimized. If you need more control, try something lightweight like OBS with a basic LUT; it’s way more efficient than those heavy AI-driven “beautification” apps that turn your laptop into a space heater.