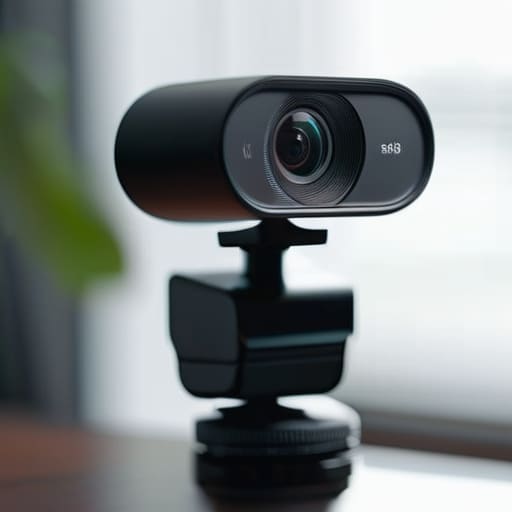
I was sitting in a cramped cafe in Tallinn last month, trying to jump on a critical client call, when I realized my entire professional presence was being undermined by a $20 plastic clip. My laptop was propped up on a stack of books, and my angle was so low I basically looked like I was staring up from the bottom of a well. Most people think webcam mounting is just about sticking a camera on top of a screen, but if you’re actually trying to maintain a seamless professional flow while moving between spaces, that’s a massive misconception. A fixed, clunky setup is just another piece of digital clutter that anchors you to one spot.
I’m not here to sell you on some overpriced, RGB-lit studio rig that takes up half your desk. My goal is to show you how to integrate your gear so it becomes completely invisible to your workflow. I’ve tested everything from minimalist tripod mounts to ultra-portable clip systems that actually survive being tossed into a tech pouch. I’ll give you the honest, no-nonsense breakdown of what works for a truly mobile, cloud-based lifestyle, so you can stop worrying about your camera angle and actually get back to your work.
Table of Contents
Tripod vs Monitor Mount Choosing Your Seamless Anchor
When you’re deciding between a tripod vs monitor mount, you’re really deciding how much you value your footprint. If you’re like me and constantly shifting between a temporary desk in a cafe or a dedicated home office, a tripod offers that immediate portability. It’s a quick win for webcam stability solutions when you’re on the move, but let’s be real: they take up precious real estate on your desk. If you’re working in a tight space, a tripod is just another piece of clutter competing for room with your keyboard and mouse.
On the other hand, a monitor mount is the ultimate play for desk space optimization. By clamping directly to the edge of your desk or attaching to your display, you clear the surface entirely. This is where you get that clean, minimalist aesthetic I’m always chasing. It also makes achieving a natural eye level much easier, which is essential for an ergonomic video conferencing setup. If your goal is to have your gear feel invisible and integrated rather than just “set up,” the mount is almost always the better long-term investment.
Desk Space Optimization for a Distraction Free Flow
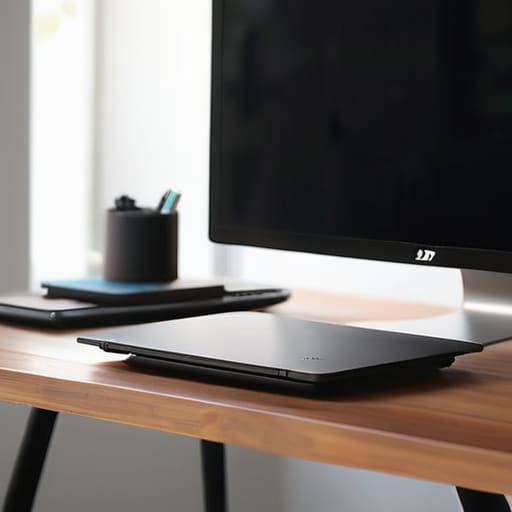
Once you’ve settled on your hardware, the real challenge is keeping your surface clear. I’ve learned the hard way that a cluttered desk is a cluttered mind. If you’re constantly moving a bulky tripod out of the way just to make room for your laptop or a notebook, you’ve already lost your momentum. True desk space optimization isn’t just about aesthetics; it’s about removing the friction between you and your deep work. I try to keep my setup as “invisible” as possible, which usually means getting everything off the tabletop and into the vertical space around my monitor.
This is where your choice of hardware really pays off. If you opt for a clamp-style solution, you reclaim that valuable real estate right in front of you, allowing for a much more ergonomic video conferencing setup that doesn’t feel cramped. By utilizing the edges of your desk, you can maintain perfect overhead camera positioning for quick demos or hardware checks without ever having to reset your entire workspace. The goal is a setup that stays out of your peripheral vision until the second you actually need it.
Small Tweaks for a Frictionless Video Setup
- Go for a clamp-on mount instead of a heavy base. If you’re constantly shifting your laptop or rearranging your gear to find a better angle, you don’t want to be fighting a bulky tripod that takes up half your desk real estate.
- Prioritize cable management with integrated clips. There’s nothing that breaks my focus faster than a dangling USB cable snagging on my keyboard; use a small adhesive clip to route the wire straight down the monitor arm.
- Test your mounting height against your eye level, not your screen level. Most people mount their cameras too low, which creates that awkward “looking down at you” vibe—aim for a mount that keeps the lens level with your eyes to keep things professional.
- Keep your mounting gear modular. Since I move between different spots so often, I only use mounts that can be stripped down and tossed into my tech pouch in under sixty seconds.
- Check for stability on uneven surfaces. If you’re working from a cafe or a temporary desk, a cheap suction mount won’t cut it; look for something with a solid grip so your frame doesn’t jitter every time you type on a mechanical keyboard.
The Bottom Line: Keeping Your Gear Out of Your Way
Stop settling for whatever angle your laptop gives you; a dedicated mount is the only way to get a professional view without the clutter.
Prioritize modularity—if your mounting solution isn’t easy to tear down and pack into a tech bag, it’s not working for a mobile lifestyle.
Focus on the “invisible” factor; the best setup is the one you forget is even there once your lo-fi playlist starts and you hit deep work.
## Gear That Disappears
Your setup shouldn’t feel like a science experiment every time you jump on a call; if your webcam mounting is clunky or intrusive, it’s just another piece of friction between you and your flow.
Elias Vandermeer
Final Thoughts on a Clean Setup
At the end of the day, choosing between a tripod or a dedicated monitor mount isn’t just about where your camera sits; it’s about how much friction you’re willing to tolerate in your daily workflow. If you’re constantly adjusting a clunky tripod or fighting with a camera that keeps sliding down your screen, you’re losing focus on the actual work. Whether you opt for the stability of a mount to save desk real estate or the flexibility of a tripod for a nomadic setup, the goal remains the same: make the hardware invisible. Your gear should support your presence in a meeting without becoming a cluttered eyesore that breaks your concentration.
My philosophy has always been that your setup should be an extension of your intent, not a collection of obstacles. Don’t get caught up in buying the most expensive peripherals just because they’re trending; instead, focus on building a system that is truly portable and seamless. When your tools are integrated correctly, they stop being things you have to “manage” and start being things that just work. Build a workspace that adapts to your life, keeps your cables managed, and lets you dive straight into deep work the moment you open your laptop.
Frequently Asked Questions
Can I use a clamp-on mount without worrying about scratching or damaging my monitor's bezel?
It’s a fair concern, especially if you’ve invested in a high-end display. Most decent clamp-on mounts use rubberized padding to distribute pressure, which should keep your bezel safe. However, if you’re using a cheap, unbranded mount, I’d be cautious. I always check for soft silicone grips before I commit. If you’re worried, just throw a tiny piece of felt or even a thin microfiber cloth between the clamp and the monitor. It’s a small tweak that keeps your gear pristine.
If I'm switching between a laptop and a desktop setup, how do I keep my camera positioning consistent?
If you’re constantly jumping between a laptop and a desktop, you can’t rely on built-in cameras or fixed stands. You need a single, dedicated mounting point that stays put. I use a heavy-duty monitor arm with a small clamp for my webcam. By mounting it to the same arm or a dedicated desk-edge clamp, I can swing the camera into position regardless of which device I’m actually using. It keeps the angle identical every single time.
Is it worth getting a dedicated arm mount, or will a small tripod be enough for my limited desk space?
If you’re tight on space, a small tripod is a decent starting point, but it’s a compromise. It sits on your desk, eating up that precious real estate you need for your keyboard or a notebook. If you can swing it, go with a dedicated arm mount. It clears the desk entirely and lets you position the camera exactly where you need it without the clutter. For a truly seamless, minimal setup, the arm wins every time.