I’ve lost count of how many “aesthetic” desk setups I’ve scrolled past that look great in a thumbnail but are actually impossible to work in. Most people will tell you that you need a massive, expensive studio array to get the vibe right, but they’re ignoring the reality of someone actually trying to get things done. I’ve spent too many nights in cramped Airbnbs staring at a harsh, overhead bulb that made my eyes ache and my focus vanish. If your desk lighting techniques are just about making your gear look cool for a photo, you’re doing it wrong; lighting should be about eliminating distractions, not creating them.
I’m not here to sell you on some overpriced smart-bulb ecosystem that requires three different apps just to dim the lights. Instead, I’m going to show you how to build a lighting setup that is actually functional, portable, and—most importantly—invisible once you’re in the zone. We’re going to focus on practical, low-friction solutions that adapt to wherever you happen to be working, so you can stop fiddling with your gear and start actually focusing on the work.
Table of Contents
- Layered Lighting Design for a Seamless Ergonomic Workspace Setup
- Preventing Digital Eye Strain Through Smart Monitor Glare Reduction
- Five Ways to Light Your Setup Without Killing the Vibe
- The Bottom Line: Lighting That Moves With You
- The Goal of Good Lighting
- Lighting That Works With You, Not Against You
- Frequently Asked Questions
Layered Lighting Design for a Seamless Ergonomic Workspace Setup
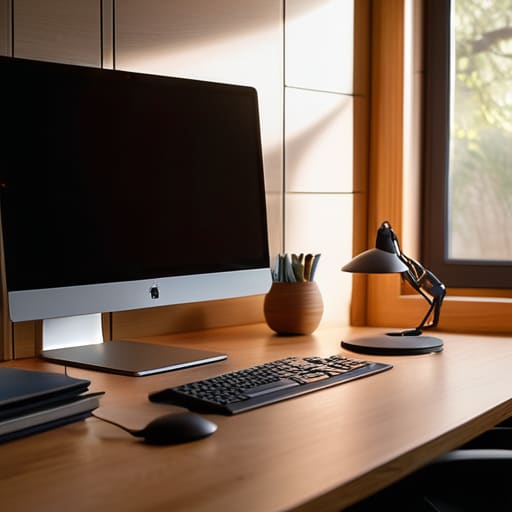
If you’re just relying on a single overhead light, you’re doing it wrong. To build a truly functional ergonomic workspace setup, you need to think in layers. I like to start with a soft ambient layer to fill the room, then add a dedicated task light for the heavy lifting. This approach prevents that harsh, high-contrast feeling where your screen looks like a glowing rectangle in a dark cave. By using a layered lighting design, you create a depth of light that makes the environment feel intentional rather than accidental.
The second layer is all about the hardware sitting on your desk. I’m a huge advocate for monitor light bars because they offer excellent monitor glare reduction without taking up precious desk real estate. They cast light downward onto your keyboard and documents instead of bouncing directly into your eyes. When you pair that with a small, dimmable LED strip behind your monitor, you’re essentially creating a backlight that helps with preventing digital eye strain during those late-night coding sessions. It’s about making the light work for you, not against you.
Preventing Digital Eye Strain Through Smart Monitor Glare Reduction
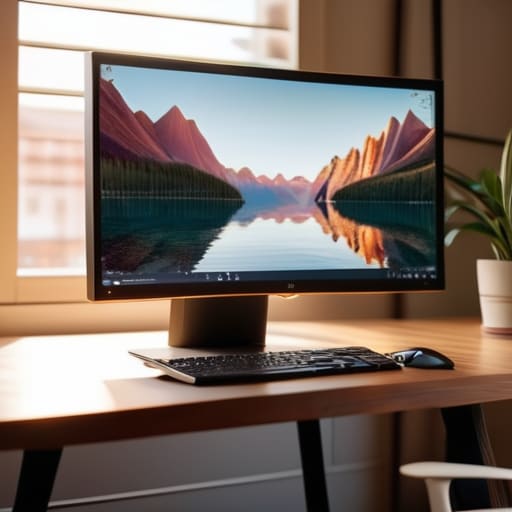
There is nothing that kills a deep work session faster than a sudden, blinding reflection hitting your screen right when you’re finally in the zone. If you’re working from a cafe or a temporary rental, you’re at the mercy of whatever window or overhead light is positioned poorly. To master monitor glare reduction, you have to stop fighting the light and start controlling it. I’ve learned the hard way that positioning your screen perpendicular to windows is non-negotiable; if the light hits your monitor directly, you’ve already lost the battle.
Beyond just positioning, I’m a big believer in using specialized tools like monitor light bars. They sit right on top of your screen and cast light downward onto your desk without washing out the display itself. This is a massive part of preventing digital eye strain because it balances the contrast between your bright screen and the surrounding environment. When your eyes aren’t constantly struggling to adjust to a harsh glare versus a dark room, you can actually stay focused on the code or the configuration instead of your mounting headache.
Five Ways to Light Your Setup Without Killing the Vibe
- Stop relying on a single overhead light; it’s a recipe for harsh shadows and instant headaches. Aim for a mix of ambient and task lighting so your eyes don’t have to work overtime to adjust.
- Get a monitor light bar. It’s a total game-changer for my nomad setups because it saves desk real estate and illuminates your workspace without reflecting off the screen and causing glare.
- Go for smart bulbs that let you shift the color temperature. I need crisp, cool light when I’m deep in a cloud architecture build, but I switch to warm, dim tones when I’m just winding down with some lo-fi.
- Position your light sources to the side of your monitors, not directly in front or behind. You want to avoid that annoying “tunnel vision” effect where the screen is the only thing you can see.
- Invest in portable, rechargeable LED strips. Since I’m rarely in the same spot for more than a month, I need lighting that I can pack into a tech pouch and deploy anywhere without hunting for an outlet.
The Bottom Line: Lighting That Moves With You
Stop treating your desk like a fixed monument; use portable, USB-C powered light sources that let you transition from a cafe to a rental apartment without losing your flow.
Prioritize indirect light over direct glare to keep your eyes from burning during long cloud-syncing sessions or deep-work sprints.
Aim for a setup where the gear becomes invisible—if you’re constantly adjusting a lamp or squinting at a screen, your tech is failing you, not the other way around.
The Goal of Good Lighting
“If you’re actually noticing your lights, you’ve probably set them up wrong. Good lighting shouldn’t be a centerpiece; it should just be a seamless part of your environment that keeps your eyes sharp and your focus locked.”
Elias Vandermeer
Lighting That Works With You, Not Against You
At the end of the day, getting your lighting right isn’t about buying the most expensive RGB strips or some high-end designer lamp. It’s about the intentionality behind how you illuminate your space. We’ve covered how layering your light sources prevents that flat, draining office feel, and how managing glare is the absolute baseline for protecting your eyes during long sessions. Whether you’re working from a tiny studio apartment or a cafe with questionable Wi-Fi, your goal should be to create an environment where the gear becomes secondary. When you nail the lighting, you’re essentially removing a friction point that was quietly draining your focus every single day.
I’ve spent enough time in poorly lit rooms to know that bad lighting is a silent productivity killer. It’s hard to stay in a flow state when your eyes are constantly fighting a reflection or a harsh overhead bulb. My advice? Don’t view your setup as a static collection of hardware, but as a dynamic ecosystem that needs to evolve as you move. Build a lighting kit that is as portable and cloud-ready as your workflow. Once you stop fighting your environment and start mastering it, you’ll realize that the best tools are the ones you don’t even notice are there.
Frequently Asked Questions
How do I balance my lighting setup when I'm working from a cafe or a temporary rental with terrible overhead lights?
When you’re stuck in a rental with those harsh, flickering overheads, don’t try to fight the room—just bypass it. I always pack a lightweight, rechargeable LED bar that clips to my laptop or sits on the table. It gives me that controlled, soft glow right where I need it. If you’re in a cafe, grab a seat near natural light but angle your screen to kill the glare. Portable, localized light is your best friend.
Are there specific smart bulbs or portable LED bars that actually integrate well with a cloud-based, automated workflow?
If you’re running a cloud-based workflow, skip the proprietary hubs that lock you into a single ecosystem. I stick to Philips Hue or LIFX because their APIs are actually reliable and integrate natively with Home Assistant or IFTTT. For portability, I carry a small BenQ ScreenBar or a rechargeable Govee LED bar. They don’t need a permanent outlet, they’re easy to pack, and they play nice with my automation scripts when I switch tasks.
How much color temperature shift should I actually expect when moving from natural daylight to a dedicated desk lamp setup?
Honestly, it’s a massive jump. Natural daylight usually sits around 5500K to 6500K—that crisp, blue-ish light that keeps you sharp. Most standard desk lamps hover around 2700K to 3000K, which is much warmer and yellower. If you don’t use a smart bulb or a high-CRI lamp that lets you adjust the Kelvin scale, that shift can feel jarring. I always aim for a programmable setup so I can match the vibe without the eye fatigue.