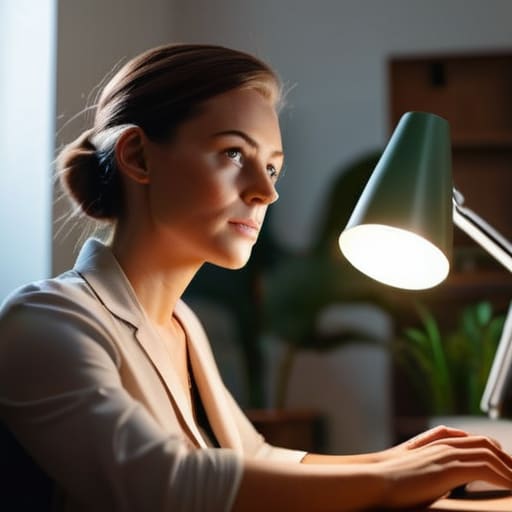
I was sitting in a cramped, dimly lit cafe in Porto last month, trying to explain a complex cloud migration to a client, when I realized I looked like a ghost in a horror movie. My face was nothing but a grainy, shadowy mess because I’d relied entirely on the overhead fluorescent lights of the shop. Most people think you need to drop five hundred bucks on a professional studio kit to fix this, but that’s a lie. Good webcam lighting isn’t about buying more gear to clutter your workspace; it’s about strategic placement and understanding how light actually hits your face when you’re moving between different environments.
I’m not here to sell you on some overhyped, bulky ring light that takes up half your desk and kills your vibe. Instead, I want to show you how to build a setup that is actually portable and, more importantly, invisible. I’ll be sharing the exact, low-friction methods I use to stay looking professional whether I’m in a dedicated home office or a temporary setup in a new city. We’re going to focus on tools that adapt to your life so you can stop worrying about your video quality and get back to the actual work.
Table of Contents
Optimizing Your Key Light Setup for Video Calls
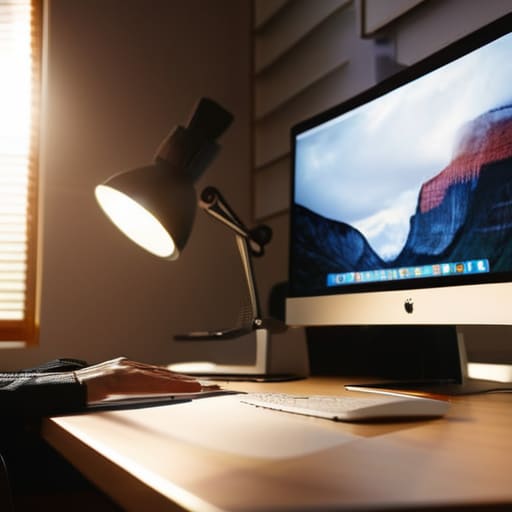
When you’re setting up your primary light source, the goal isn’t to blast yourself with brightness; it’s about creating depth without the harshness. If you’re debating softbox vs ring light, my vote goes to the softbox every single time. A ring light can give you that “influencer” look, but it often flattens your features and makes everything look artificial. A softbox provides a more diffused, natural glow that mimics window light, which is essential for improving webcam image clarity without making you look like you’re under a spotlight in a interrogation room.
Position your light slightly off-center and at a 45-degree angle to your face. This is the secret to reducing webcam shadows that pool under your eyes and nose, which can make you look exhausted even when you’ve had eight hours of sleep. Also, keep an eye on your color temperature for video conferencing. You want something in the 3200K to 5600K range—anything too orange and you’ll look like you’re sitting in a sunset, and anything too blue feels like a sterile hospital wing. Keep it consistent, keep it soft, and just let the tech fade into the background.
Improving Webcam Image Clarity Without the Clutter
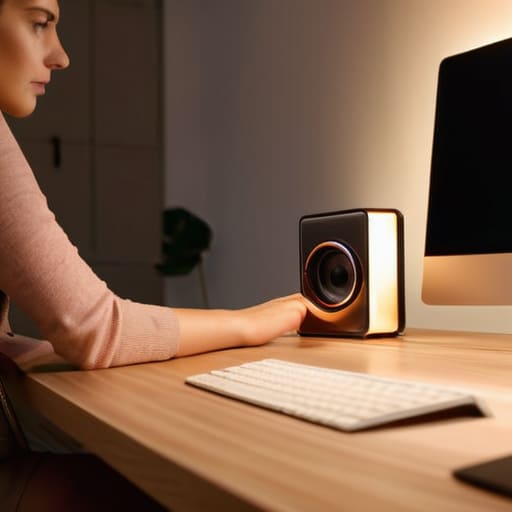
The biggest mistake I see people making is thinking they need a studio-sized rig to look professional. If you’re anything like me, you probably want a setup that doesn’t take up half your desk or require a permanent power outlet. When it comes to improving webcam image clarity, the secret isn’t more gear—it’s better placement. I’ve learned that even a cheap light source can look high-end if you position it correctly to avoid harsh, distracting glares on your glasses or face.
Instead of cluttering your workspace with bulky equipment, focus on reducing webcam shadows by using a single, well-placed light source slightly off-center. If you’re debating between a softbox vs ring light, go for whatever is most portable for your current location. For me, a small, clip-on LED panel is a game changer because it integrates into my minimalist setup without looking like a piece of heavy production gear. You want your tools to be invisible; if you’re constantly rearranging heavy stands, you’re just creating friction between you and your actual work.
Lighting That Doesn't Feel Like a Studio Set
- Stop relying on that single, harsh overhead light; it creates shadows under your eyes that make you look like you haven’t slept in three days. Aim for soft, diffused light coming from the front instead.
- If you’re working from a cafe or a temporary rental, use your laptop screen’s brightness to your advantage. Crank it up and open a blank white document to act as a makeshift, portable fill light.
- Ditch the bulky ring lights if you’re traveling. I stick to small, clip-on LED panels that I can toss in my tech pouch and mount anywhere without turning my desk into a cluttered mess.
- Watch out for the “silhouette effect” caused by bright windows behind you. If you can’t move your desk, you’ll need a small light source in front of you just to balance out the exposure so you aren’t just a dark shadow.
- Keep your color temperature consistent. Mixing warm lamp light with cool daylight from a window makes your video look grainy and amateur; try to pick one vibe and stick to it.
The Bottom Line: Keep It Portable, Keep It Simple
Stop overcomplicating your gear; a single, well-placed light source that you can move from your desk to a cafe table is worth more than a permanent studio setup.
Prioritize light quality over quantity to avoid that washed-out, “AI-generated” look that makes you look less professional on calls.
Aim for a setup where the tech disappears, letting your face and your message take center stage without a mess of cables or bulky stands getting in the way.
## Lighting as Infrastructure
Good lighting shouldn’t feel like a production; it should just be part of your setup’s invisible infrastructure. If you’re spending more time adjusting lamps than actually coding, your gear is working against you, not for you.
Elias Vandermeer
The Invisible Edge
At the end of the day, good lighting shouldn’t be something people notice about your room; it should be something they notice about you. By prioritizing a clean key light and stripping away the unnecessary clutter that kills your image clarity, you’re essentially removing the friction between you and your client. Whether you’re working from a temporary rental in a new city or your permanent home setup, the goal remains the same: keep your gear minimal, portable, and effective. When your lighting is dialed in, you stop worrying about how you look on screen and start focusing on the actual conversation.
Don’t get caught up in the trap of thinking you need a studio-grade lighting rig to look professional. Real professionalism comes from the confidence of knowing your setup won’t fail you when a high-stakes call drops in. Build a kit that adapts to your environment, not one that dictates where you can sit. Your workspace is meant to be an extension of your freedom, so make sure your tools are seamlessly integrated into your life. Once you master the basics of light, everything else just falls into place.
Frequently Asked Questions
How do I stop my video from looking washed out when I'm working from a cafe or a place with terrible natural light?
The “washed out” look usually happens because your camera is struggling to find a baseline in uneven light. If you’re in a cafe, stop relying on overhead fluorescents—they’re brutal. Instead, grab a small, portable LED panel that fits in your tech pouch. Position it slightly off-center to create some depth, and manually lock your exposure settings so the camera stops hunting for light every time someone walks by. It’s about control, not brightness.
Is there a way to set up decent lighting that doesn't take up half my desk space or require a massive power brick?
Look, I get it. I’ve spent too many nights in cramped Airbnbs trying to balance a massive ring light on a wobbly desk. If you want to save space, ditch the bulky desktop units and go for a clip-on LED panel or a small light bar that sits right on top of your monitor. Most of these run off USB power, so you skip the power brick headache entirely and keep your cable management actually clean.
How do I balance my lighting so I don't look like a ghost in a dark room or a silhouette against a bright window?
The trick is to stop treating your light like a spotlight and start treating it like an environment. If you’re fighting a bright window, don’t just crank your brightness—that’s a recipe for looking like a washed-out ghost. Instead, use a cheap sheer curtain to diffuse that natural light, then add a small, warm LED behind your monitor to fill in the shadows. It balances the contrast so you actually look human, not like a silhouette.